


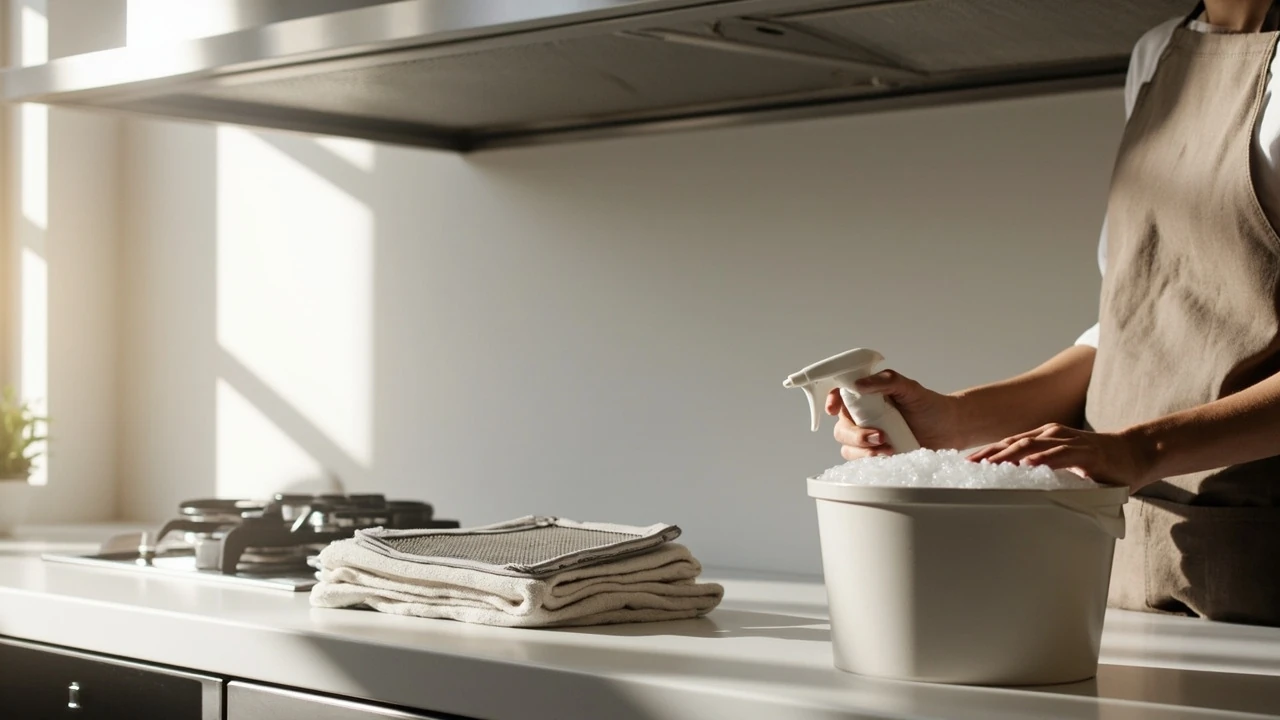
Kitchen hood cleaning: a practical guide for safer cooking
A greasy film on the underside of the range hood is more than a cosmetic problem. Once that layer thickens, it can drip onto food, stain cabinetry, slow the fan, and in the worst cases act as fuel for a flare-up. Kitchen hood cleaning is the routine that keeps the appliance pulling air the way it was designed to, and it is the single most overlooked line item in most home maintenance checklists.
The good news is that a home cook does not need a commercial technician to keep a residential hood in safe working order. With the right degreaser, a steady schedule, and a clear understanding of which parts can be soaked and which cannot, most homeowners can handle the job in under an hour. This guide walks through the parts that need attention, how often to clean them, what is safe to do yourself, and when it makes sense to call in a professional.
Why kitchen hood cleaning matters more than most homeowners realize
Range hoods sit directly above the heat source and pull airborne grease, moisture, smoke, and combustion byproducts out of the cooking zone. As the Wikipedia overview of kitchen hoods explains, a typical hood combines a capture panel, a grease filter, and a fan, with airflow measured in cubic feet per minute for U.S. models. The same source notes that baffle and mesh filters are the most common residential types, and both must be cleaned regularly to keep airflow up and fire risk down.
Grease is the real issue. Once a filter is saturated, the oil no longer sticks to the mesh. It bypasses the filter, coats the fan blades, lines the ductwork, and migrates to the underside of cabinets. A fan pulling against a thick grease layer runs hotter, works harder, and can start to smell like hot oil even when the stove is off. The National Fire Protection Association’s cooking safety guidance stresses that cooking is the leading cause of home fires, and that residue on hoods and ducts is a recognized contributor to ignition and flame spread.
The hidden cost of a neglected hood
A neglected hood quietly creates three problems at once:
- Reduced airflow, so smoke and steam linger and the kitchen feels stuffy even with the fan on high.
- Mechanical strain on the motor, which shortens fan life and increases electrical draw.
- Grease accumulation in the duct, which is the hardest area to clean and the one most associated with serious kitchen fires.
None of these are visible from the front of the appliance, which is why so many hoods go years between deep cleans.
Parts of a range hood that actually need cleaning
Most owners think of the visible filter and the underside of the hood and stop there. A useful kitchen hood cleaning routine covers all of the parts the air touches, not just the ones you can see at a glance.
The grease filter
This is the workhorse of the system. In most U.S. homes it is either a flat aluminum mesh cassette that drops out with a clip or a set of stainless steel baffle panels that slide out like drawers. Mesh filters catch oil in their layered strips; baffle filters use curved channels that knock grease out of the airstream and into a tray. Either way, the filter is the first line of defense and the part that dirties fastest.
The capture area and underside
The underside of the hood and the capture panel above the cooktop are exposed to rising steam and aerosolized oil. Even with a clean filter, some grease reaches these surfaces and slowly polymerizes into a yellow-brown film that resists ordinary soap.
The fan and motor housing
Older or higher-end hoods allow access to the fan impeller. Most mid-range residential units do not, and the motor is sealed. Either way, residue on the visible fan area is a sign that the filter has been overwhelmed for a while.
The duct (for vented hoods)
If the hood is ducted, the air leaves through a metal or flexible duct to an exterior wall or roof cap. The first few feet of duct see the heaviest grease load, especially where the duct turns or has a horizontal run.
The light cover and controls
Grease haze on the light lens cuts down on illumination at the cooktop, which is a real safety issue. Touch controls and switches also get sticky if oil is allowed to build up.
How often kitchen hood cleaning is actually needed
Frequency depends on how much and what kind of cooking happens. A heavy weekly cook using a gas range with high-heat searing needs more frequent attention than someone who mostly reheats and simmers. The following table offers a realistic starting point that homeowners can tighten or relax based on what they see when they pull the filter.
| Cooking pattern | Mesh or baffle filter | Underside and capture panel | Light cover and controls | Duct and fan |
|---|---|---|---|---|
| Daily home cooking, mixed frying and simmering | Every 2 to 4 weeks | Every 2 months | Every 2 months | Annually visual check, full clean every 2 to 3 years |
| Heavy frying, searing, or wok cooking on gas | Every 1 to 2 weeks | Monthly | Monthly | Annual inspection, clean as needed |
| Light cooking, mostly boiling and reheating | Every 2 to 3 months | Every 6 months | Every 6 months | Every 3 to 5 years |
| Rental property or short-term rental | Between tenants minimum, monthly during use | Between tenants minimum, every 2 months during use | Between tenants | Annual inspection |
The trigger is the filter itself. If the aluminum mesh turns dark and stays slick when wiped with a paper towel, it is overdue. If baffle panels are visibly streaked or dripping, they are overdue.
Choosing the right degreaser for the job
Not every degreaser suits every surface. The two most common mistakes are using a too-harsh chemical on aluminum (which darkens the finish) and using a too-mild dish soap on a filter that has not been cleaned in a year.
| Product type | Best for | Caution |
|---|---|---|
| Citrus-based or plant-based degreaser spray | Painted or coated metal undersides, light to medium grease, weekly wipe-downs | Test on a hidden spot first on colored finishes. |
| Alkaline (high-pH) degreaser | Aluminum mesh filters, stainless steel baffles, heavy grease | Can darken raw aluminum if left to soak too long. Rinse thoroughly. |
| Baking soda paste (sodium bicarbonate + water) | Light films, food-safe surfaces, gentle cleaning of painted areas | Not strong enough for heavy polymerized grease on its own. |
| Boiling water with dish soap and a splash of ammonia | Submerged soak of metal filters in a sink or tub | Ammonia fumes are irritating. Use in a ventilated area and never mix with bleach. |
| Commercial kitchen degreaser (NSF-listed) | Very heavy, caked-on grease in duct or fan housing | Follow label contact times. Many require neutralization before rinse. |
Charcoal filters in ductless hoods are the one component that should not be cleaned at all. They are designed to be replaced, typically every 6 to 12 months, because the pores that trap odor fill up and stop working.
Step-by-step kitchen hood cleaning for a typical home range hood
The following sequence covers a standard under-cabinet or wall-mounted ducted hood. Recirculating hoods follow the same filter and surface steps, with the difference that the charcoal filter inside is replaced rather than washed.
Step 1: Cut power and clear the area
Switch For additional context, off the hood at the controls and at the breaker if the model has electronic touch controls or a plug you can reach. Slide the range out slightly or cover the cooktop with a towel to catch drips. Lay newspaper or a drop cloth on the counter under the hood.
Step 2: Remove the filters
For mesh cassettes, release the spring clip or pull the small tab and let the filter drop forward. Baffle panels usually slide out toward you. Set them in a sink, basin, or bathtub where they can be fully submerged.
Step 3: Soak the filters
The most reliable home method is a hot soak:
- Fill a basin with the hottest tap water you can use safely.
- Add a generous squeeze of dish soap and, for heavy grease, a few tablespoons of an alkaline degreaser or a small splash of household ammonia.
- Submerge the filters so they stay under the water.
- Let them soak for 15 to 30 minutes. For filters that have not been cleaned in over a year, extend the soak and repeat.
After soaking, scrub both sides with a non-abrasive brush or an old dish brush. The grease should release in sheets or as a milky cloud in the water. Rinse under hot running water, then either air dry upright on a towel or set on a baking sheet in a low oven (around 200 degrees Fahrenheit) for a few minutes.
Step 4: Clean the underside and capture panel
Spray the underside with a degreaser suitable for the finish. Let it dwell for the time on the label, usually 1 to 3 minutes. Wipe with a microfiber cloth, turning the cloth often. For stubborn polymerized grease, repeat the dwell and use a non-scratch scrubbing pad. Stainless steel should be wiped along the grain to avoid leaving visible scratches.
Step 5: Clean the light cover and controls
Most light covers twist, clip, or slide out. Wash with warm soapy water, dry, and reinstall. Touch controls and rocker switches respond well to a barely damp cloth with a tiny amount of degreaser. Avoid spraying the controls directly.
Step 6: Check the fan area if accessible
Some hoods expose the fan through a panel above the filters. If accessible, wipe the visible fan blades and housing with a degreasing cloth. Do not push liquid into the motor. If the fan blades are caked, the motor housing should be cleaned by a technician rather than immersed.
Step 7: Reinstall filters and test
Once filters are fully dry, slide them back in. Restore power, run the hood on high for a minute, and confirm that airflow is stronger than before. A noticeable difference in suction is the simplest signal that the clean made a real difference.
Duct and fan considerations most guides skip
The duct is the part of a vented hood that owners almost never touch, and it is the part that fire investigators pay closest attention to. A clean filter does not undo a grease-loaded duct.
What you can check yourself
With the filters removed, look up into the duct opening with a flashlight. If the first few inches of ductwork are visibly coated with a thick brown or black film, the duct needs attention. A flexible aluminum duct often shows oil staining on the outside near joints, which is a strong sign of internal buildup.
What a professional handles
For most homes, the practical limit of do-it-yourself work is the filter and the underside. Cleaning the duct itself usually means disconnecting it from the hood or the wall cap, and that is a job for a professional hood or HVAC technician, especially if the duct runs through a wall, ceiling, or roof. They have brushes, vacuums rated for grease, and the experience to keep fasteners and gaskets intact.
What about a roof cap?
The exterior vent cap should be checked once a year for a stuck damper, bird nest, or a build-up of grease that can drip down the siding. From the ground, look for staining under the cap. From the roof, only do this if you are comfortable working at height and the cap is accessible.
Common kitchen hood cleaning mistakes to avoid
Some of the most common errors are the ones that look harmless at the time but shorten the life of the hood or create new problems.
- Using a chlorine bleach solution on aluminum. This darkens the metal and weakens the mesh over repeated exposure.
- Mixing ammonia and bleach. The combination produces chloramine fumes that are dangerous in a closed kitchen.
- Putting mesh filters in a dishwasher without checking the manufacturer guidance. The high-heat cycle can warp the frame and loosen the layered mesh.
- Spraying degreaser directly onto electronic controls or the motor housing. Liquids in those areas cause failures that are not covered by warranty.
- Reinstalling filters while still wet. Water trapped in the housing drips onto the cooktop and can reach the motor.
- Ignoring the duct because the filter looks clean. If the fan starts to smell or noise increases with no other explanation, the duct is a likely culprit.
Safety and ventilation during the clean
Kitchen hood cleaning is straightforward, but it does involve a few real safety points that are worth spelling out.
- Open a window or run the hood in exhaust mode (if filters are still in place) while degreasing to move fumes out of the room.
- Wear nitrile or rubber gloves. Degreasers, especially alkaline ones, irritate skin with prolonged contact.
- Keep children and pets out of the kitchen while filters are soaking, since the soak water is effectively a weak lye solution.
- Never use a flame near the filter during cleaning, and do not place filters on a hot stovetop to dry.
- If the hood has been in a kitchen where a recent cooking fire occurred, treat the filters and duct as fire-damaged and have them inspected before further use.
When to call a professional instead of doing it yourself
There are a few situations where hiring a hood cleaning service or a kitchen remodeler with duct experience is the right call.
- Visible grease on the duct, fan housing, or roof cap.
- Strong oily smell that does not go away after a thorough filter and underside clean.
- A rental property or shared kitchen where liability and fire code compliance are in play.
- Downdraft or integrated hoods where disassembly requires specific tools.
- Older ductwork with flexible plastic or vinyl sections, which are no longer code-compliant in many areas and should be replaced with metal.
For homeowners weighing whether to clean a hood themselves or to schedule a deep clean alongside a larger kitchen remodeler visit, it can be useful to ask the contractor to assess the duct run at the same time. The same visit that pulls a range to install a new countertop can also be the moment the duct is finally cleaned or upgraded.
Putting a kitchen hood cleaning schedule on autopilot
The single biggest reason hoods go years between cleans is that there is no trigger. Setting calendar reminders tied to real cooking milestones works better than picking an arbitrary date.
- Pair filter cleaning with a recurring grocery day. Every other trip, the filter gets a soak.
- Tie the underside wipe-down to seasonal kitchen resets, such as the first heavy cool-weather cooking day in fall and the first big grilling-to-stovetop transition in spring.
- Replace charcoal filters in ductless hoods when daylight saving time changes, so the schedule is easy to remember.
- Book a duct inspection every other year along with another recurring home service, such as a boiler service or seasonal check, so the two reminders line up.
The point is not to invent new chores. The point is to attach a small, regular task to a habit that already exists.
Frequently asked questions
How often should I clean a kitchen hood filter?
For most households, every 2 to 4 weeks for the filter, with the underside wiped every 2 months. Heavy frying or daily gas cooking usually moves that to every 1 to 2 weeks. The filter is the visual cue. If it looks dark and feels slick when wiped, it is time.
Can mesh filters go in the dishwasher?
Some manufacturers allow it on the top rack, but the high heat and harsh detergent can warp the frame and shorten the life of the layered mesh. A hot soak in the sink with dish soap and a degreaser is gentler and usually does a better job on heavy grease.
What is the difference between a baffle filter and a mesh filter?
Both capture grease. A mesh filter uses layered aluminum strips to catch oil across a wide area. A baffle filter uses curved metal channels that knock grease out of the airstream into a tray. Baffle filters are common in higher-end and commercial-style hoods because they handle higher airflow and are easier to wash in a sink.
Can I use bleach to clean my range hood?
Bleach should not be used on aluminum mesh filters because it can darken and weaken the metal. It can be used in very dilute form on stainless steel, but a proper alkaline or citrus degreaser is usually more effective on grease and less likely to damage the finish. Never mix bleach with ammonia, which is a common ingredient in stronger degreasers.
How do I know if the duct behind my hood needs cleaning?
Remove the filters and shine a flashlight into the duct opening. If the first few inches are coated with a brown or black film, the duct is loaded. Other signs include a hot-oily smell that does not clear after a deep clean, a film on the underside of cabinets near the hood, and oil staining on an exterior wall under the vent cap.
Do ductless hoods need cleaning too?
Yes, but with one key difference. The metal mesh or baffle filter still needs regular washing to keep airflow strong. The charcoal filter inside a ductless hood is not washable and should be replaced every 6 to 12 months, depending on use. The rest of the cleaning is the same as for a vented hood.
Is it safe to clean a hood that was near a recent cooking fire?
It depends on the severity. A small flare-up that was contained in a pan usually leaves the hood dirty but safe to clean normally. If the hood itself caught fire or the duct shows signs of charring, have a professional inspect the unit and the duct before continuing to use it. Replacing the filter and a wipe-down are not enough if the duct or motor has heat damage.
What tools do I need for a basic kitchen hood cleaning?
A microfiber cloth, a non-scratch scrubbing pad, a dish brush, nitrile gloves, a basin large enough to submerge the filters, dish soap, a degreaser appropriate for the finish, and paper towels. A step stool helps for taller hoods, and a flashlight is useful for inspecting the duct and fan area.
Can kitchen hood cleaning reduce cooking smells in the rest of the house?
Often, yes. A clean filter and a clean duct pull more air through the system, which clears cooking fumes faster and reduces the oily residue that holds onto odors. If smells persist after a thorough clean, the duct may have a blockage, the damper may be stuck, or the hood may be undersized for the cooktop.
How long does a typical home kitchen hood cleaning take?
A routine clean with filter soak, underside wipe, and light cover usually takes 30 to 60 minutes of active time, with another 15 to 30 minutes of soak and drying. A first deep clean on a hood that has not been touched in a year or more often runs closer to 90 minutes of active time and may need a second pass on the underside.
Leave a Reply